Electric motor repair on a three-phase induction motor starts with diagnosis, not with dismantling. Many “failed” motors are simply overloaded, poorly cooled, misaligned or starved of a phase. This guide covers practical field and shop work: safety and lockout, bearing replacement, cleaning, fan and cowl repairs, terminal-box and lead work, shaft and alignment problems, and the tests to run after reassembly. It is not a rewind manual and not a substitute for site electrical safety rules.
For the usual reasons motors fail, see what is the most common cause of motor failure. Incoming electrical checks should follow your plant procedure and the existing test articles linked below—this page does not repeat those methods.
Diagnose Before You Repair
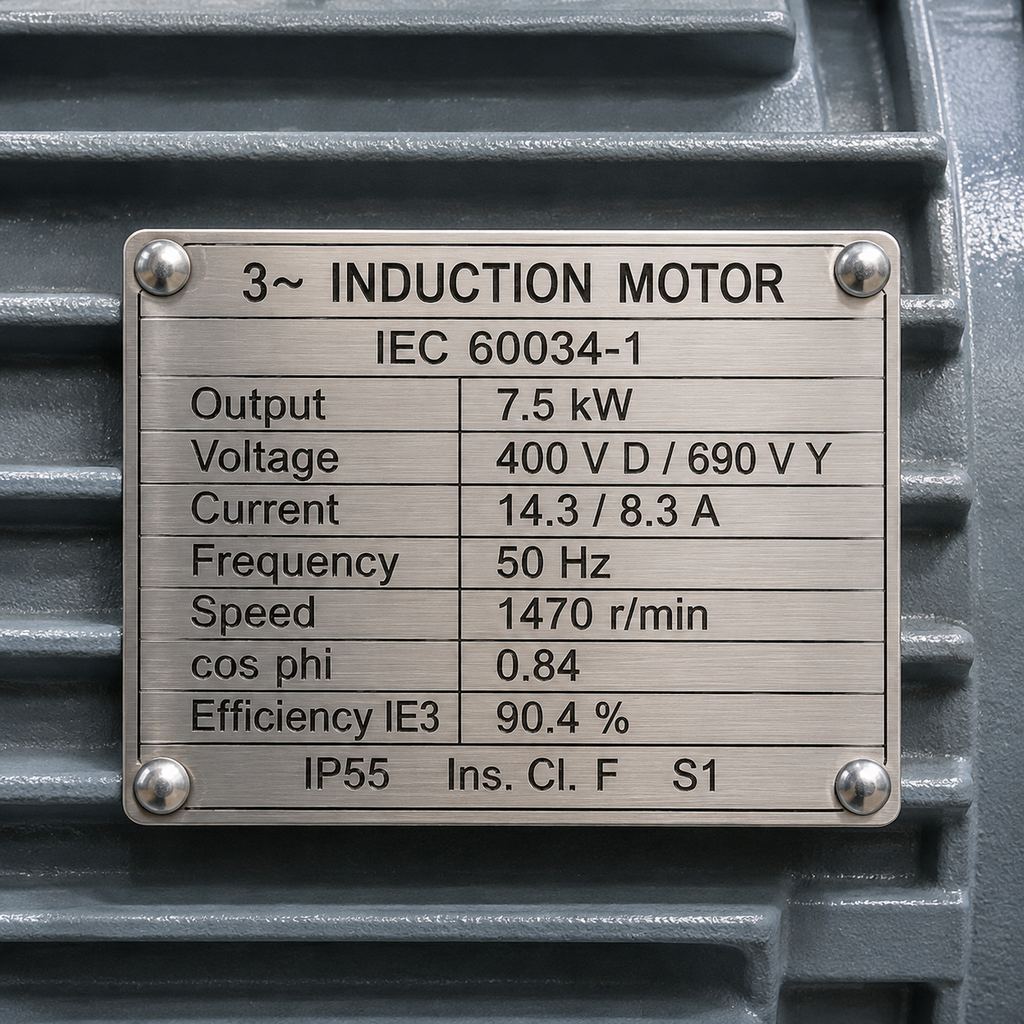
Record nameplate data, the application (pump, fan, conveyor), how the fault appeared, and any recent process or supply changes. Then work from the outside in:
| Check | What you are looking for | Typical next step |
|---|---|---|
| Visual and thermal | Cracked feet, oil leaks, burnt varnish smell, discoloured terminal box, clogged fins or cowl | Clean and inspect before assuming a rewind |
| Mechanical feel | Shaft roughness, play, rubbing, a fan that will not turn freely (power isolated) | Bearings, fan, or alignment |
| Supply and starter | Missing phase, loose contacts, tripped overload, wrong thermal setting | Fix the circuit first; see single phasing |
| Insulation and winding balance | Low insulation resistance, unequal phase resistance, ground faults | Use the megger procedure and the 3-phase test guide |
| Load and cooling | Motor hot with near-normal current (blocked ventilation) vs current above FLA (overload or process change) | Correct the duty or cooling path, then reassess the motor |
Do not run a motor that smells of burnt insulation, has a locked shaft, or has not been isolated and tested after a ground fault. If the stator winding is carbonised or the core is damaged, skip ahead to the short rewind-versus-replace note.
Safety and Lockout
Treat the motor and its controller as live until they are isolated, locked and verified de-energised. Follow the site lockout/tagout procedure:
- Identify all energy sources (supply, control power, residual charge in a VFD DC bus, mechanical stored energy).
- Stop the machine, open the isolator or breaker, apply your lock and tag at the energy isolation point—not only on the motor terminal-box lid.
- Prove dead with a correctly rated tester, including a proving check on a known live source before and after.
- Allow the motor to cool. Watch coupling, belt and shaft guards: a motor can still be driven by the machine if the driven load is not isolated.
- Use eye protection and gloves suited to the task. Insulated gloves are for electrical work, not a substitute for isolation.
Photograph the terminal-box connections and mark end-shield orientation, jacking-screw holes and shims before stripping the motor. That record prevents a “repaired but wired or timed wrongly” return visit.
Bearing Replacement
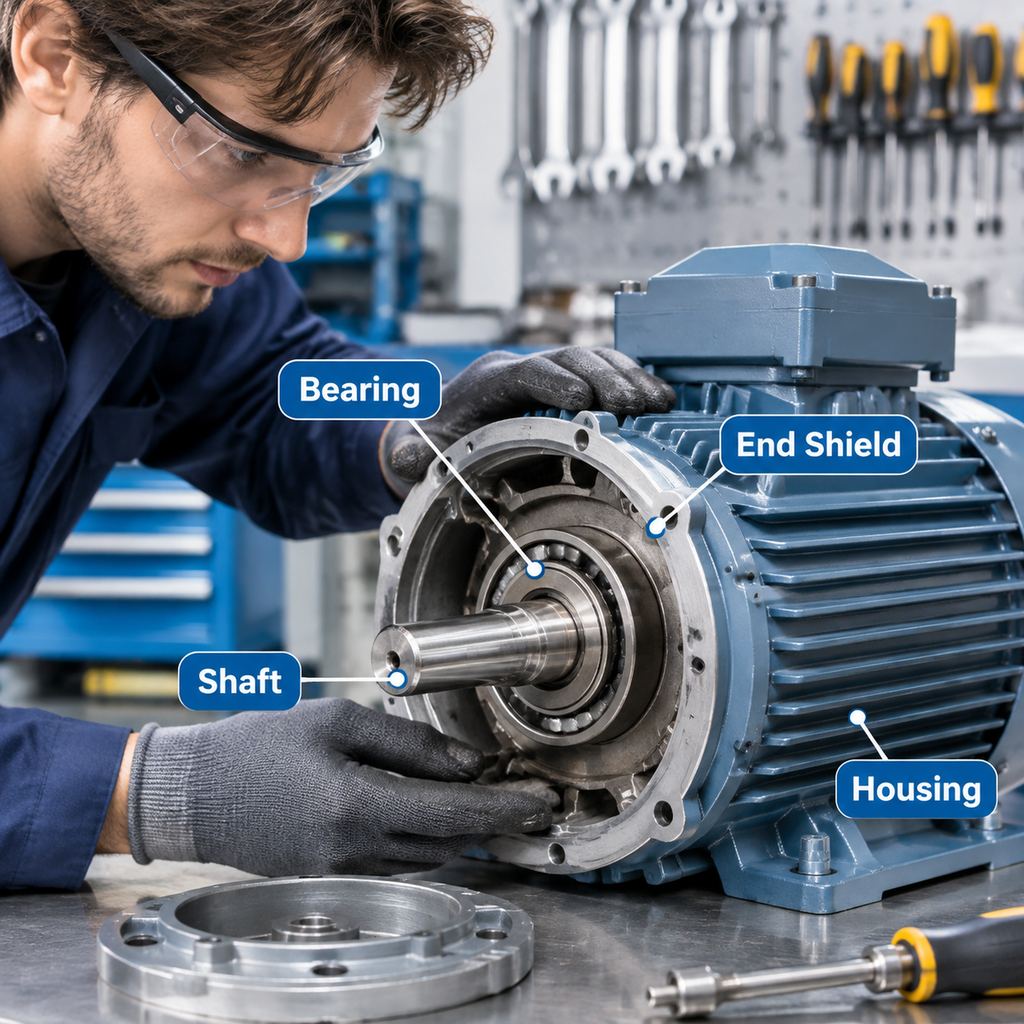
Bearings are among the most common wearable parts and a frequent shop repair. Typical signs are rumble, roughness when the isolated shaft is turned by hand, grease leakage, or hot end shields. Background on types and lubrication is in the bearing article.
Practical shop sequence (qualified mechanical work):
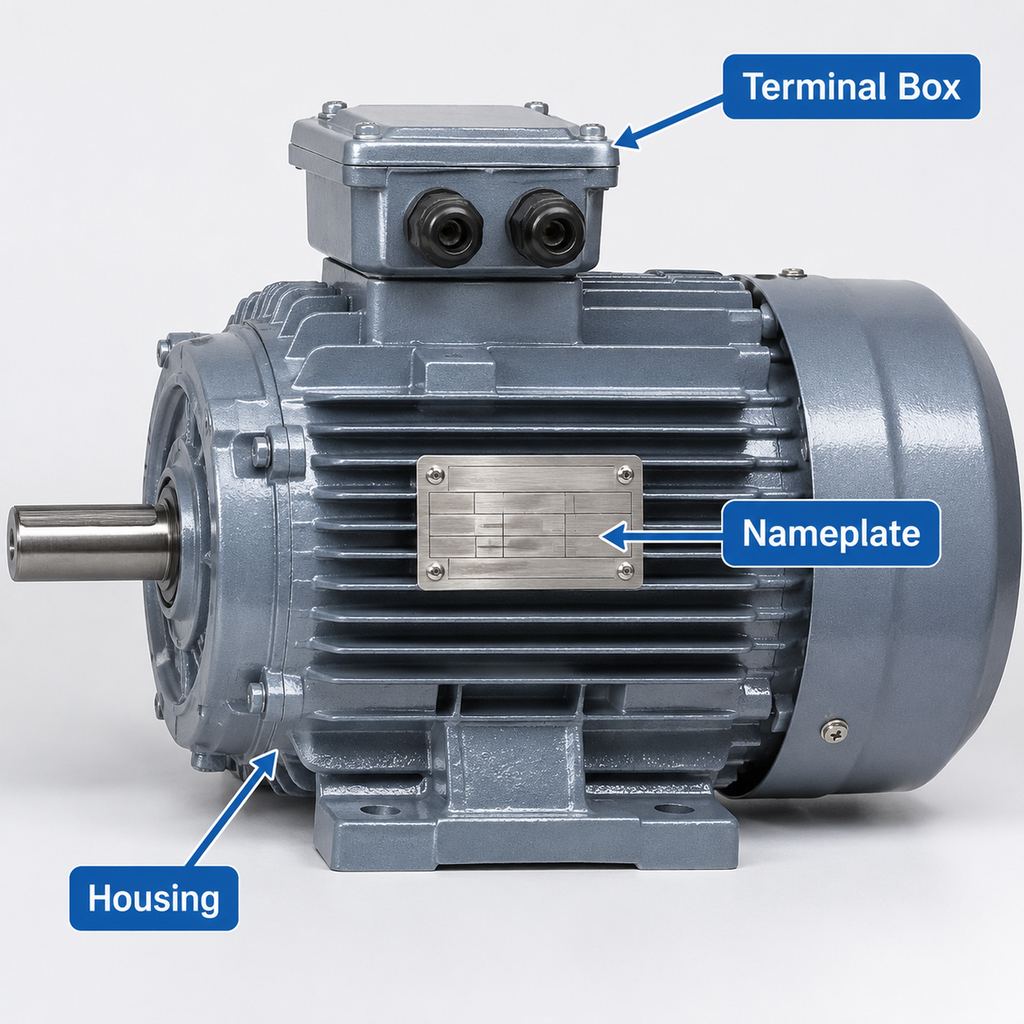
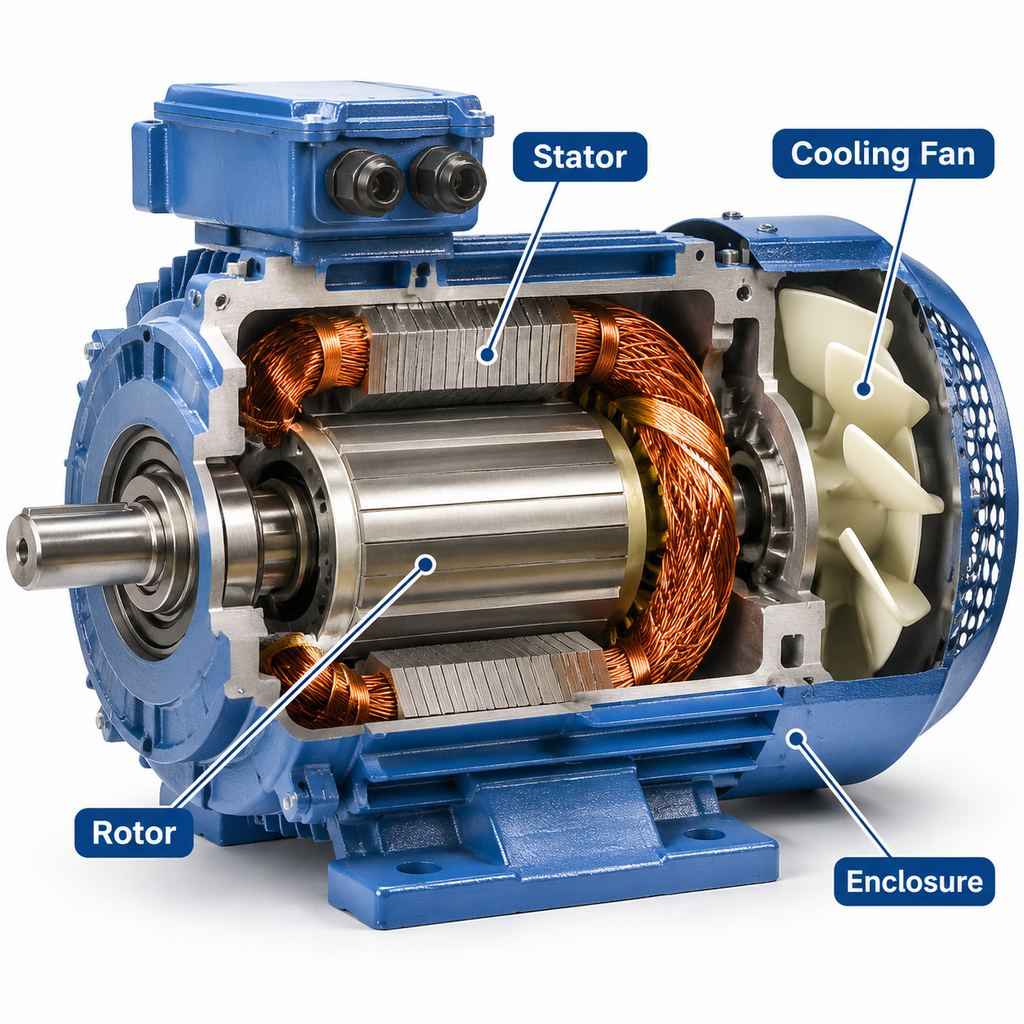
- Remove the coupling or pulley and the non-drive-end fan cover and fan. The cooling fan is on the non-drive end, inside the cover—never pull a “fan” off the drive-end shaft.
- Unbolt end shields, using jacking points if provided. Support the rotor so the stator core is not scored.
- Note bearing reference numbers, shields/seals, and any wave washer or pre-load arrangement. Fit the same arrangement unless the manufacturer specifies a change.
- Pull bearings with a proper puller on the inner ring. Do not hammer the shaft or pry against the winding.
- Clean and inspect journals and housings for wear or spinning outer rings. Address shaft or housing damage before fitting a new bearing.
- Fit new bearings by heat (controlled induction heater) or a press on the inner ring only. Do not blow a flame over the bearing or force it on cold with a hammer.
- Regrease only if the bearing is open or has a greaseable arrangement, using the grease type and quantity in the motor documentation. Over-greasing a sealed bearing or packing the cowl with grease causes heat.
If the bearing has failed repeatedly, find the cause—misalignment, belt load, contamination, electrical fluting, or wrong lubrication—rather than fitting another set of the same size.
Cleaning, Cooling and Fan Fixes
A motor that runs hot at roughly normal current often has a blocked cooling path. Clean fins, the fan cowl inlet and any filters. On TEFC motors the external fan must be intact, correctly oriented and tight on the shaft; a cracked or missing fan, or a cowl crushed against the blades, will overheat a healthy winding.
Clean windings only with methods approved for the insulation system. Dry compressed air or a vacuum can remove loose dust; solvent or steam can damage varnish and slot insulation if used casually. After a wet clean, dry the motor and re-test insulation resistance before applying voltage. Do not spray water into the terminal box or bearing seals.
Replace a damaged cowl or fan rather than running “for now.” An unbalanced fan also shows up as vibration that can be mistaken for a bearing defect.
Terminal Box and Lead Repair
Loose, burnt or undersized connections in the terminal box create local heat and voltage drop that look like a motor fault. After isolation:
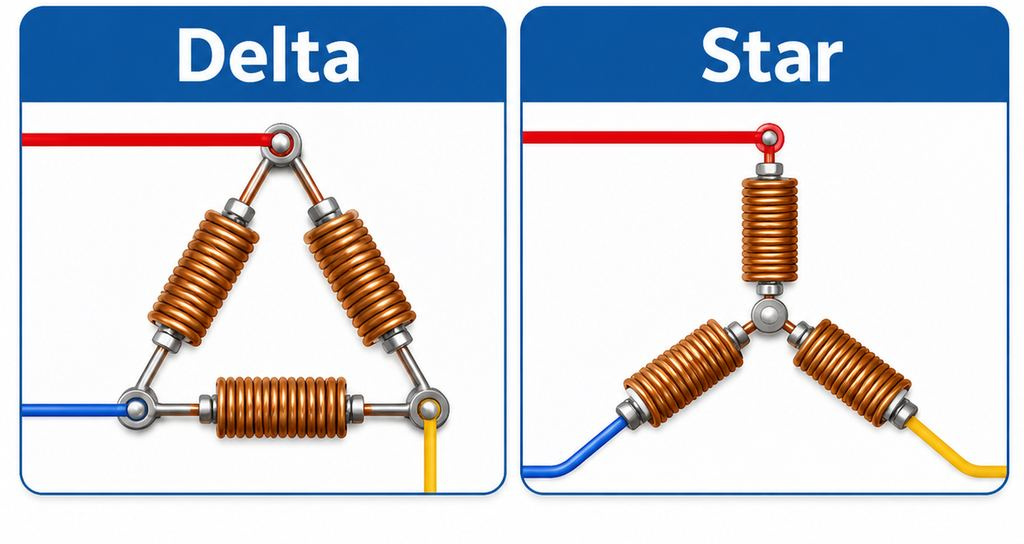
- Check studs, lugs, jumpers (star/delta links) and incoming cables for discoloration, loosened nuts and cracked insulation.
- Replace damaged leads and grommets; do not tape over burnt insulation and return the motor to service.
- Restore the correct connection (star or delta) for the supply voltage shown on the nameplate. Photograph before disturbance.
- Confirm the box gasket, lid screws and cable glands will keep out dust and moisture after the repair.
A high-resistance joint on one phase can unbalance current and overheat that winding even when the supply itself is balanced.
Shaft and Alignment Problems
Bent shafts, worn journals, damaged keyways and poor coupling alignment produce vibration, bearing load and coupling wear. Field work usually means correcting soft foot, shimming and aligning the coupling or pulley to the driven machine after the motor is mechanically sound. Shaft straightening, sleeve repairs or welding a journal belong in a machine shop with the right equipment—do not heat and hammer a shaft in place.
Belt drives need correct pulley alignment and tension. Over-tension is a classic cause of repeated drive-end bearing failure after an otherwise good bearing job.
Testing After the Repair
Before coupling the load:
- Insulation resistance (megger) — confirm the winding is dry and undamaged after cleaning or bearing work. Follow how to meg a 3-phase motor; do not invent a pass number—use the motor standard, manufacturer limit or your site criterion, corrected for temperature if required.
- Rotation and mechanical run — with guards in place as far as practical, bump for rotation, then a no-load run if the machine allows it. Listen for bearing noise and feel for abnormal vibration or rubbing.
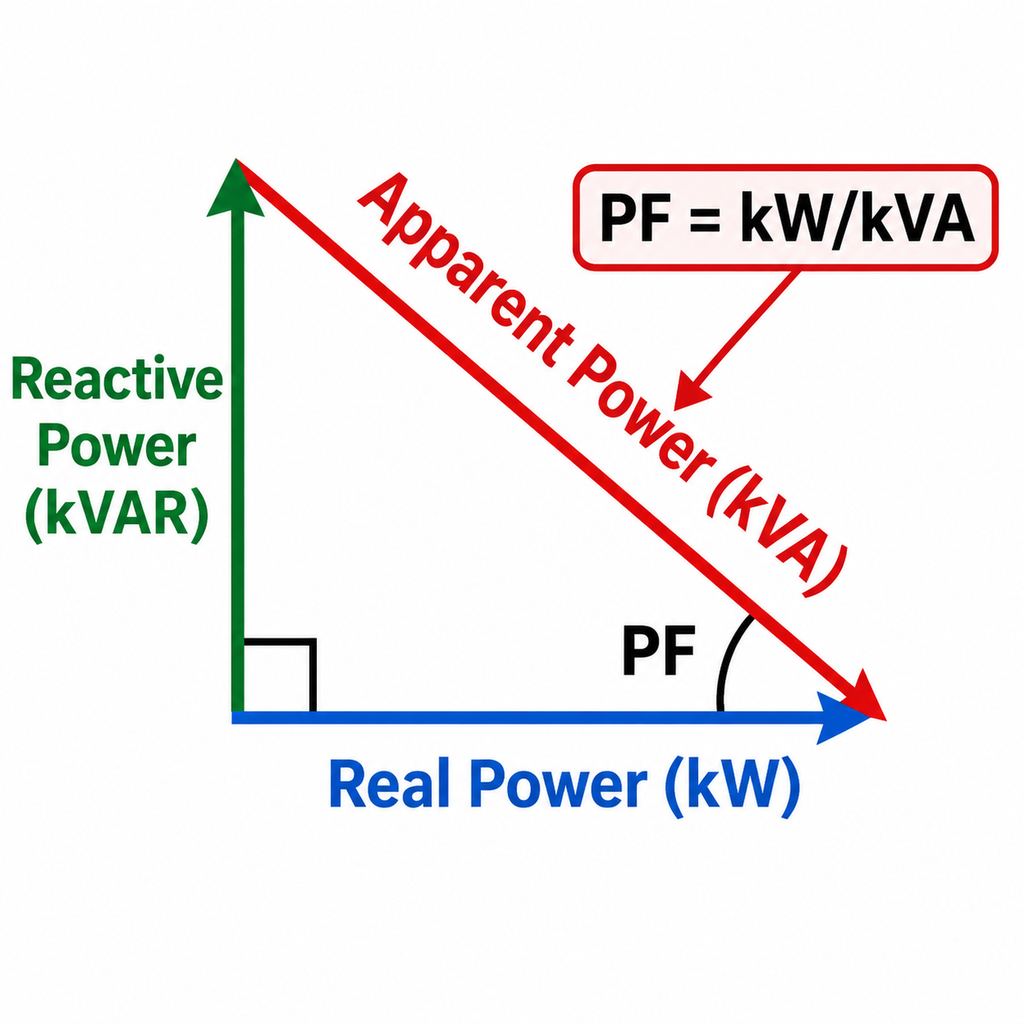
- Current balance — on no-load, and later on load, compare the three line currents. A large unbalance with a balanced supply points back to connections, a winding fault or a mechanical issue that is loading the motor unevenly. Method context: how to test a 3-phase motor.
- Temperature and tightness — after a proving run, recheck terminal tightness and look for hot end shields or a hot terminal box, which suggest lubrication, alignment or connection problems that the first run has not yet revealed.
When Repair Is Not Enough: Rewind vs Replace
If the winding is burned, the core is damaged, or repair cost approaches that of a suitable new motor, stop and decide rather than layering temporary fixes. A quality rewind can restore a sound core; a poor rewind can raise losses. The decision factors and shop process are covered in what is a motor winding—use that page rather than treating rewind as a field DIY job.
If You Need a Replacement Motor
When replacement is the better path, specify the existing frame, mounting, power, speed, voltage and duty so the new motor actually fits. Cast-iron general-purpose options are listed under general-purpose motors and the YE3 series. For non-standard shafts, flanges or accessories, use customization, or browse all products.
FAQ
How do you repair an electric motor in the field?
Diagnose first, isolate and lock out, then fix what the evidence supports—bearings, cooling, terminals or alignment. Electrical winding repair belongs in a qualified shop.
How do you fix an electric motor that runs hot?
Compare current with nameplate and inspect cooling. Heat at normal current usually means a blocked fan or dirty fins; high current means overload, unbalance or a process change.
Can every failed motor be repaired?
No. Burned windings, a damaged core, a bent shaft or a repair cost close to a new motor are reasons to rewind or replace rather than patch.
Is lockout just closing the terminal box?
No. Lock and tag the energy isolation device and verify the circuit is dead before opening the motor.