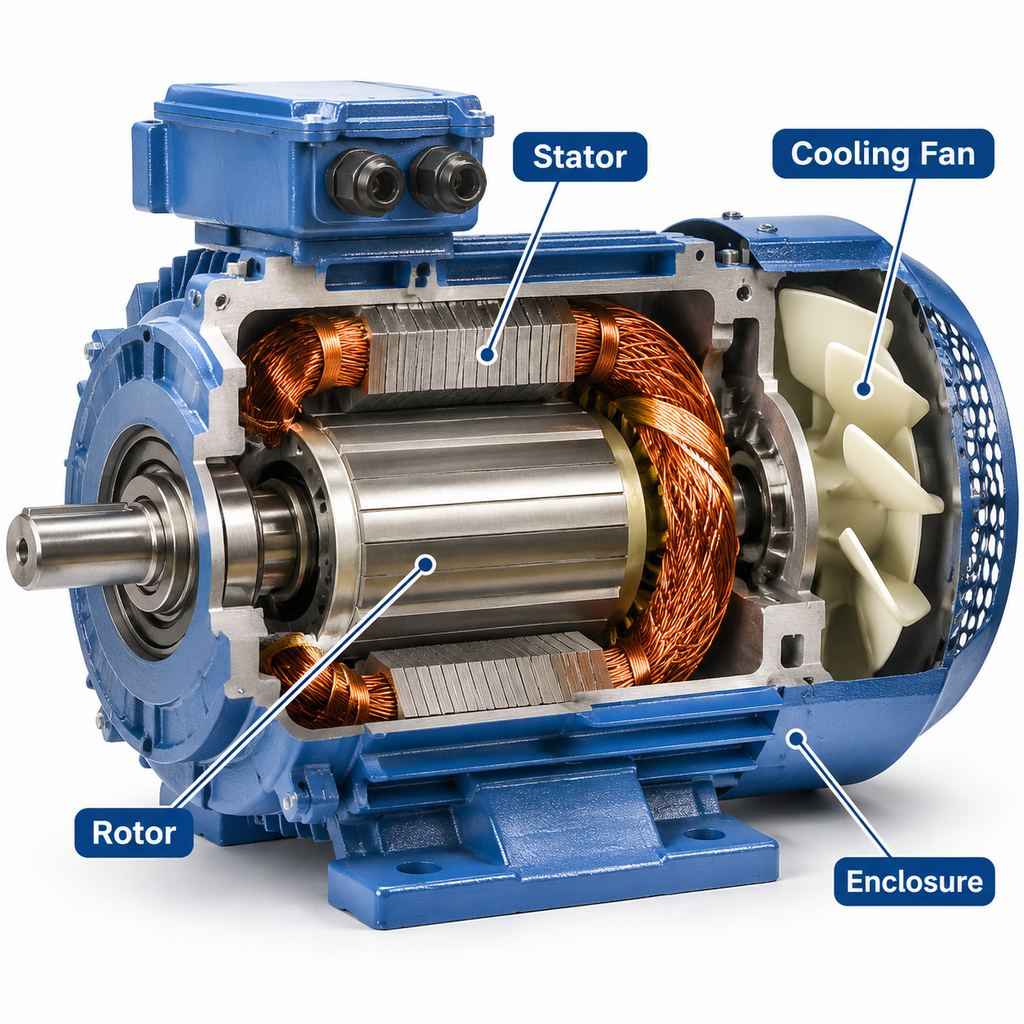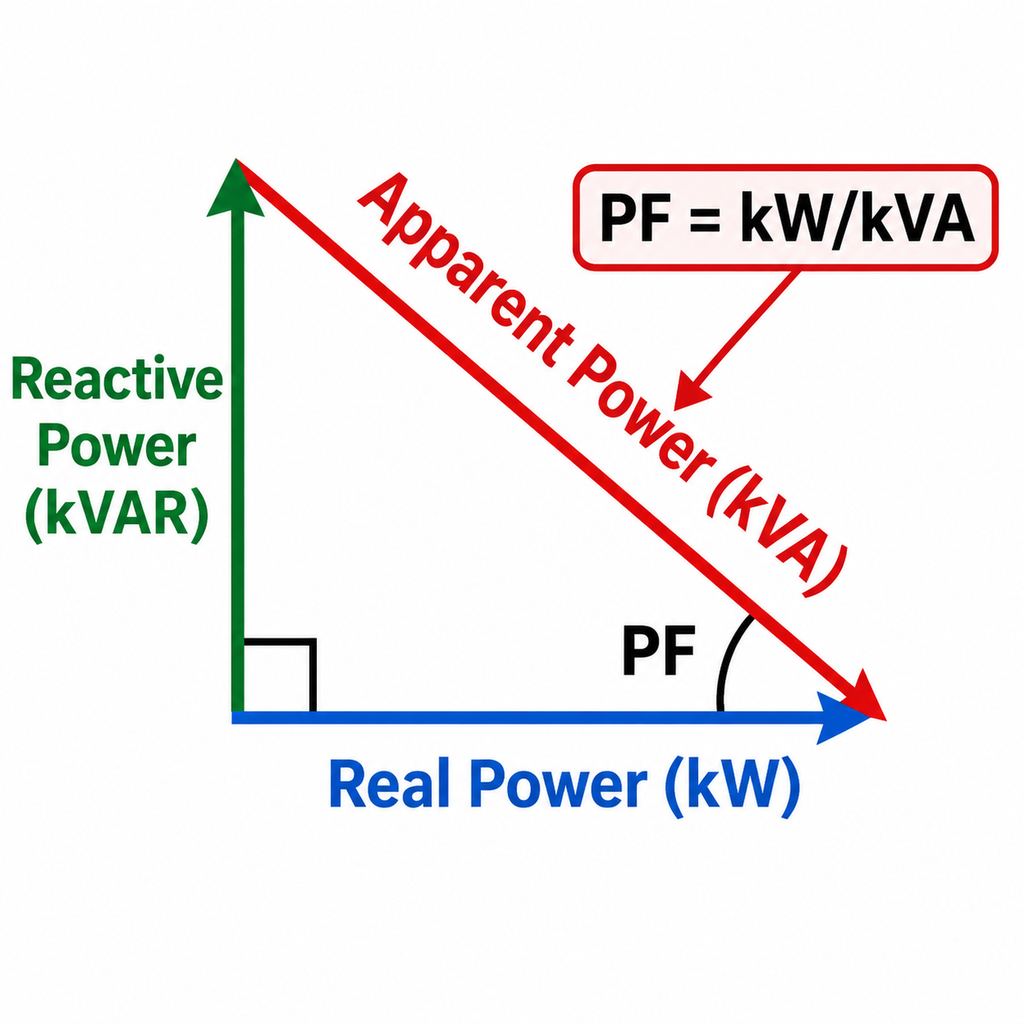
“Megging” a motor means measuring its insulation resistance (IR) with a megohmmeter. The test shows whether the winding insulation is still sound, or whether moisture, dirt or damage has created a leakage path to ground or between phases. This guide covers how to meg a 3-phase motor safely, how to connect the instrument, how to read the results without over-interpreting them, and what to do when readings are low.
For continuity, winding-resistance and running checks, use the separate guide how to test a 3-phase motor. This article is megger / IR testing only.
What a Megger Test Measures
A megohmmeter (megger) applies a controlled DC test voltage and measures the very small leakage current through the insulation, then displays the result as resistance in megohms (MΩ) or gigohms (GΩ). Good insulation shows a high reading; wet, contaminated or damaged insulation shows a low reading.
Typical connections for a three-phase motor:
- Winding to ground (frame): the usual spot check. Detects leakage from the copper to the iron core or frame.
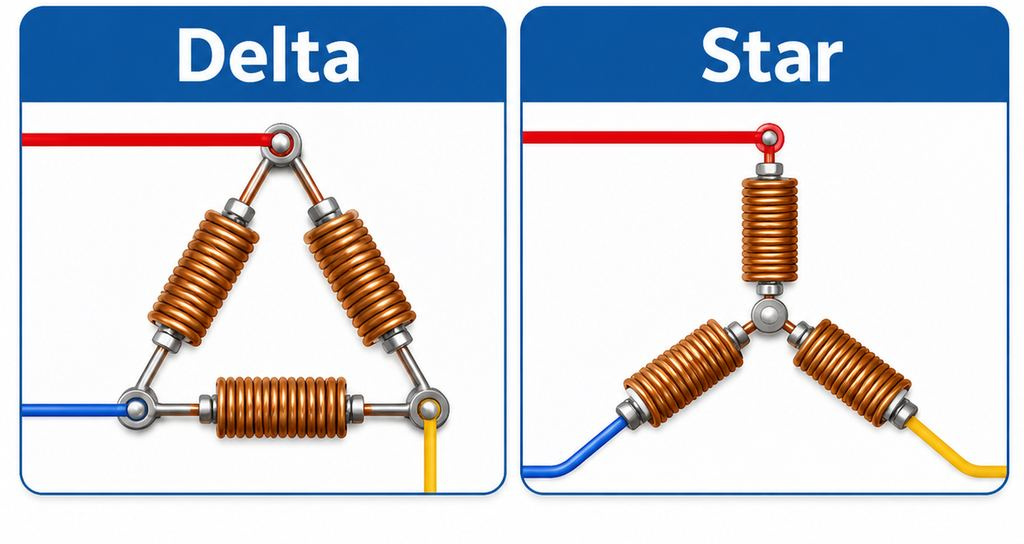
- Phase to phase: only meaningful after the star or delta links are removed so the phases are electrically isolated. With the links still in place, a megger between two leads mainly sees the winding copper, not inter-phase insulation.
IR testing does not replace a turn-to-turn surge or hipot test, and it does not measure winding resistance. It answers one question: is the ground (and, if isolated, inter-phase) insulation still high enough?
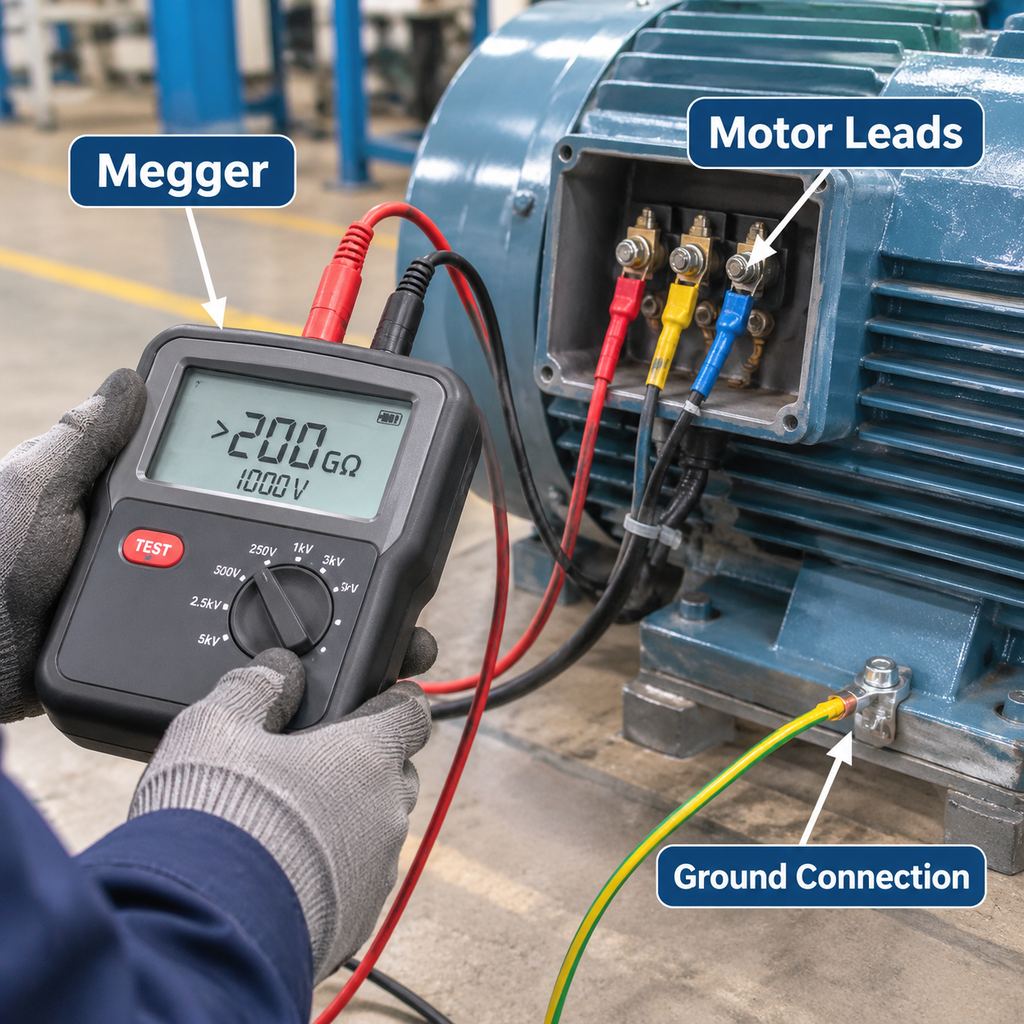
Winding-to-ground IR test: LINE on the motor leads, EARTH on the frame. For the usual spot test, short all three leads together first.
Safety Before You Meg
- De-energize and lock out. Open the disconnect, apply lockout/tagout, and prove dead with a suitable voltage tester on all phases.
- Disconnect the motor. Open the terminal box and disconnect the supply cables from the motor. Also isolate any VFD, soft starter, capacitors, heaters or instrumentation that share the circuit. Testing through a drive or starter can damage electronics and give false readings.
- Discharge stored charge. Large motors behave like capacitors. Before connecting the megger, and again after the test, short the winding leads to the frame for a period at least several times the test duration so residual voltage decays safely.
- PPE and ratings. Use an instrument and leads rated for the test voltage you select. Keep clear of the terminals while the test voltage is applied.
How to Meg a 3-Phase Motor (Step by Step)
- Inspect first. Look for water, condensation, oil, dust or damaged leads. Wipe the terminal block clean and dry; surface dirt can pull a reading down.
- Choose the test voltage. For most low-voltage motors (roughly up to 600 V rated), 500 V DC is the usual field choice. 1000 V DC is sometimes used on higher LV ratings or when the manufacturer specifies it. Medium-voltage machines need higher voltages and a different procedure. Follow the motor maker’s instructions and the applicable IR standard for your site; do not apply a higher voltage than the winding is rated to withstand in service.
- Winding-to-ground spot test (most common).
- Short the three motor leads (U/V/W or T1/T2/T3) together.
- Connect the megger LINE lead to the shorted leads.
- Connect the megger EARTH lead to a clean point on the motor frame (paint scraped if needed).
- Apply the test voltage for the planned time (often 60 seconds for a spot reading) and record the value.
- Optional: each phase to ground. If the combined reading is low or suspicious, separate the phases (remove star/delta links as needed) and test each phase to frame. Similar readings on all three phases often point to moisture; one phase much lower than the others can point to a localized insulation fault.
- Optional: phase-to-phase. With phases isolated, meg between U–V, V–W and W–U. Expect high IR if the insulation between coils is sound. Reinstall the links correctly when finished.
- Discharge. Turn the instrument off and discharge the windings to the frame before touching the terminals or reconnecting the supply.
- Record. Note date, motor ID, ambient and winding temperature if known, test voltage, connection method, and readings. Trends over time matter more than a single absolute number.
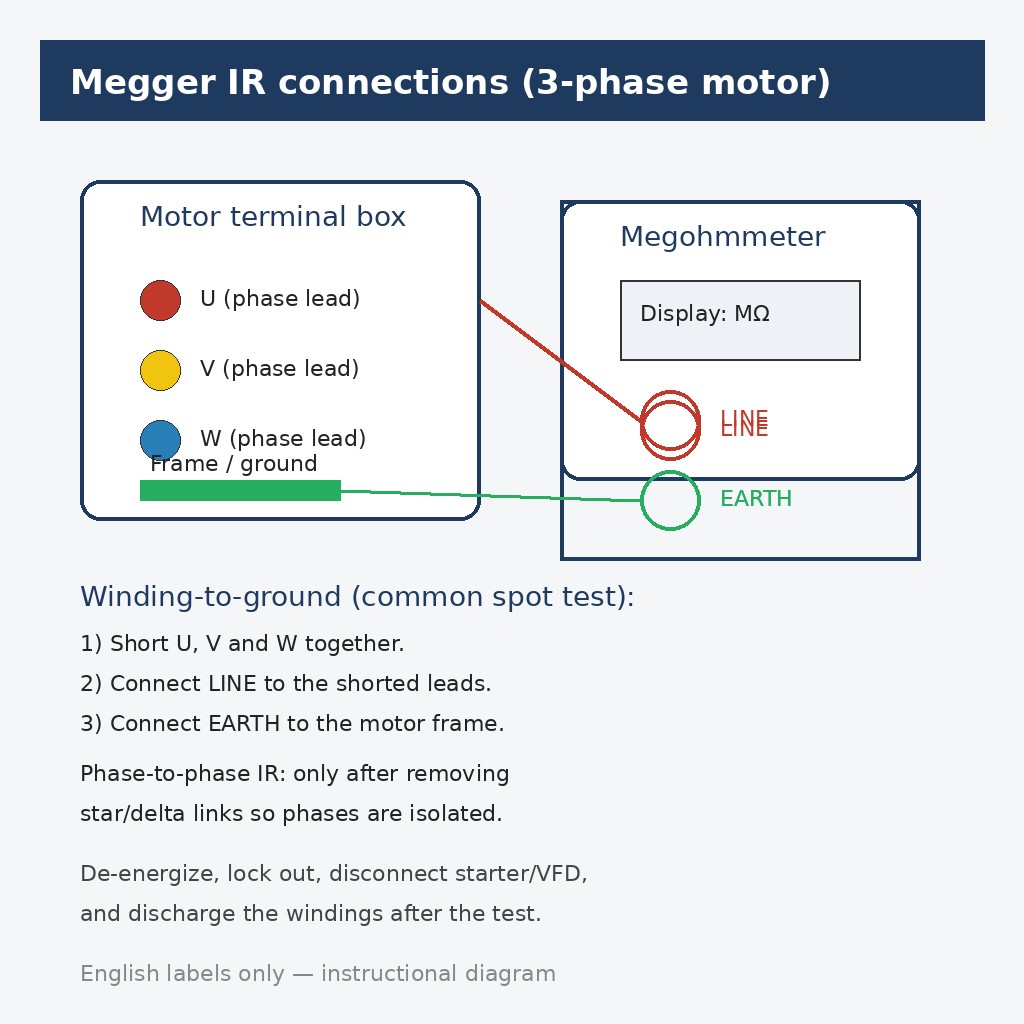
Winding-to-ground spot test: short U, V and W, LINE to the shorted leads, EARTH to the frame. Phase-to-phase IR only after isolating the phases.
Pass Criteria and Common Misreads
There is no single universal pass/fail number that fits every motor. Acceptance depends on rated voltage, insulation system, temperature, whether the machine is new or aged, and the standard or manufacturer guidance you work to (for example IEEE Std 43 for rotating machines, and the motor maker’s service literature). Use the figures below only as field orientation, not as hard rules.
- IEEE-style rule of thumb (often quoted): a minimum of about 1 MΩ + 1 MΩ per kV of rated voltage (so roughly 1.5 MΩ for a 460–500 V motor), corrected toward a reference temperature such as 40 °C when required. Many plants set a higher internal minimum for new or recently refurbished motors.
- New, dry LV motors commonly read tens to hundreds of megohms, or into the gigohm range, on a 500 V or 1000 V test.
- Temperature: IR falls as the winding warms. Compare like with like, or apply the temperature correction your procedure specifies.
- Moisture: a low but similar reading on all phases that rises after drying usually means damp windings, not a burnt coil. Open drip-proof machines that have sat idle in humid air often meg low until warmed.
- Polarization index (PI): the ratio of the 10-minute reading to the 1-minute reading. On many larger or form-wound machines, a higher PI supports the idea that the insulation is drying and polarizing normally; a very low PI can indicate contamination. On small random-wound LV motors, PI is less decisive—do not condemn a motor on PI alone without manufacturer or site guidance.
- One phase much lower than the others after separation is more concerning than three equally low readings.
Always prefer the motor manufacturer’s limits and your site’s electrical standard over generic internet tables.
If the Reading Is Low: Dry, Repair or Replace?
- Confirm the setup. Dirty terminal surfaces, a lead still connected to a starter or heater, or a damp terminal box can fake a bad motor.
- Dry and retest. Warm the motor with space heaters, temporary heat lamps or a controlled bake so moisture leaves the windings, then meg again while the winding is still warm and after it cools, per your procedure. A clear rise toward normal values points to moisture.
- Shop work. If drying does not restore IR, the motor may need cleaning, varnish treatment or a rewind at a repair shop.
- Replace when the stator is burned, the core is damaged, the frame is a small standard size where a new IE3/IE4 motor costs less than a quality rewind, or the machine has failed repeatedly.
- Fix the cause. Add or repair space heaters, improve terminal-box sealing, or correct washdown and condensation problems so the next motor does not wet out the same way.
Moisture Prevention and Insulation Margin
Motors in damp pump rooms, outdoor fans and dusty or wet process areas need dry storage before installation, space heaters when idle, and intact seals and drains. JWMotor YE3, YE4 and Y2 cast-iron three-phase motors use Class F insulation with a Class B temperature rise, which leaves thermal headroom in normal service (see insulation class). That margin does not replace IR testing or heaters in wet locations.
Optional PTC thermistors protect against overheating; they do not dry the winding. For wet or dirty services in water and wastewater, mining and aggregates, HVAC and ventilation or copper and mining sites, specify heaters, suitable IP rating and accessories as needed under customization. See also all products.
Frequently Asked Questions
How do you megger a 3-phase motor?
De-energize and disconnect it, short the three leads together, meg from the shorted leads to the frame at the selected DC test voltage, record the reading, then discharge the winding. Separate the phases only if you need phase-to-ground or phase-to-phase detail.
What voltage should I use?
For most low-voltage three-phase motors, 500 V DC is typical; some procedures use 1000 V DC. Match the instrument setting to the motor rating and the manufacturer’s or site standard.
What is a good megger reading on a motor?
A dry, healthy LV motor usually reads far above a few megohms. Minimum acceptance values vary by standard and maker—often on the order of 1 MΩ plus 1 MΩ per kV of rating as a widely quoted floor—so use your specified limit and watch the trend.
Why is my megger reading low after the motor sat idle?
Moisture absorption is the most common reason. Dry the motor and retest before condemning the winding.
Is megging the same as a full motor test?
No. Megging checks insulation resistance. Continuity, winding ohms and running checks are covered in how to test a 3-phase motor.